Monday, December 8, 2014

Practicum

Practicum

5th grade Mosaics
For my practicum, I was able to teach two fifth grade classes about mosaics.  I started by giving a brief history of the Greek mosaics, with picture examples, and then presented them with modern day examples found in the home.  I gave them step by step instructions, using an example that I had made beforehand to let them pass around, presented them with the materials, and turned the time over to the students to work on their project.  

My objectives were to focus on time management, creativity, and planning abilities.  I walked around the classroom, asking questions about their mosaics, asking them self assessment questions, and answering questions where needed.  Once the students were done with the project, their art teacher had free time projects for them to choose from.  

The classes were pretty evenly split between boys and girls, with four or five students at a table, with five tables in the art room.  They had assigned seating, and the art teacher told them at the beginning of the lesson that if they misbehaved too much they would spend the hour in the hallway.  Their art room was nicely supplied and had lots of room for the students to work and move around in.  

I expected students to stay in their seats better, but there was a lot of moving around and stealing materials from other tables, which led to several discussions about sharing in the classroom.  I also learned that sometimes, the students are hard to keep on task, while others do not want to put the materials away when it is time for clean up.  I expected to have plenty of materials, but some were much more popular than others, such as the marbles. 

Weaving

Weaving


The weaving project was created using straw grass, yarn, and different fabric strips.  This was a fun way to play with materials and find out what they do when mixed together.  We used a disposable meat tray (like the ones found at the deli) as a substitute for a loom.  I liked the way that the weaving could be altered to a certain extent even when tied off, by pulling the yarn towards itself or pulling it away, creating different patterns with the darker color.  

I would have a link for the weaving tutorial, but I didn't see one posted on the class discussion.  

Milk Jug Mask

African Milk Jug Mask

 For the milk jug masks, we looked at African masks beforehand.  The African masks are usually made of wood, and have teeth, hair, and other features added on.  We cut a milk jug in half, covered it with masking tape, which was then coated in shoe polish to color the mask.  Once that was dry we painted on our design and added hair and or beads.  This was and interesting project, it reminds me of the creepy masks my grandmother had all over her house.

For the tutorial, check out the link below.
http://artforchildrenisfun.blogspot.com/ (Links to an external site.)
http://artforchildrenisfun.blogspot.com


Batik

Batik


These were really cool to work with.  So a batik is made by creating a design with a mixture that will resist dye, then dying the fabric and flaking off the resistant material before washing the fabric.  I tried to create a design that would resemble peacock feathers, and the color was a blue-green, but I may have washed it a bit too soon.  I soaked the fabric in hot water before washing to help set the color, but it still faded out a bit, giving it an aged look.  This project takes time and patience (waiting for the resist and the dye or paint to dry on) but worth the effort.  

For the tutorial, click the link below.

Pinch Pots

Pinch Pots and Coil Pots

Pinch pot

Coil Pot
The pinch pots are made by taking a ball of clay and slowly pinching out a desired shape.  Then the pot is left to dry, and when they were dry we painted them.  The coil pots are made by rolling out coils from the clay and meshing the coils together to form the pot.  This project was fun, but didn't take very long to work on.  We used an air dry clay, so these pots are not for eating out of or getting wet.  

For the tutorial, click the link below.
http://myartisticodyssey.blogspot.com/ (Links to an external site.)

Chinese Brush Painting

Chinese Brush Painting


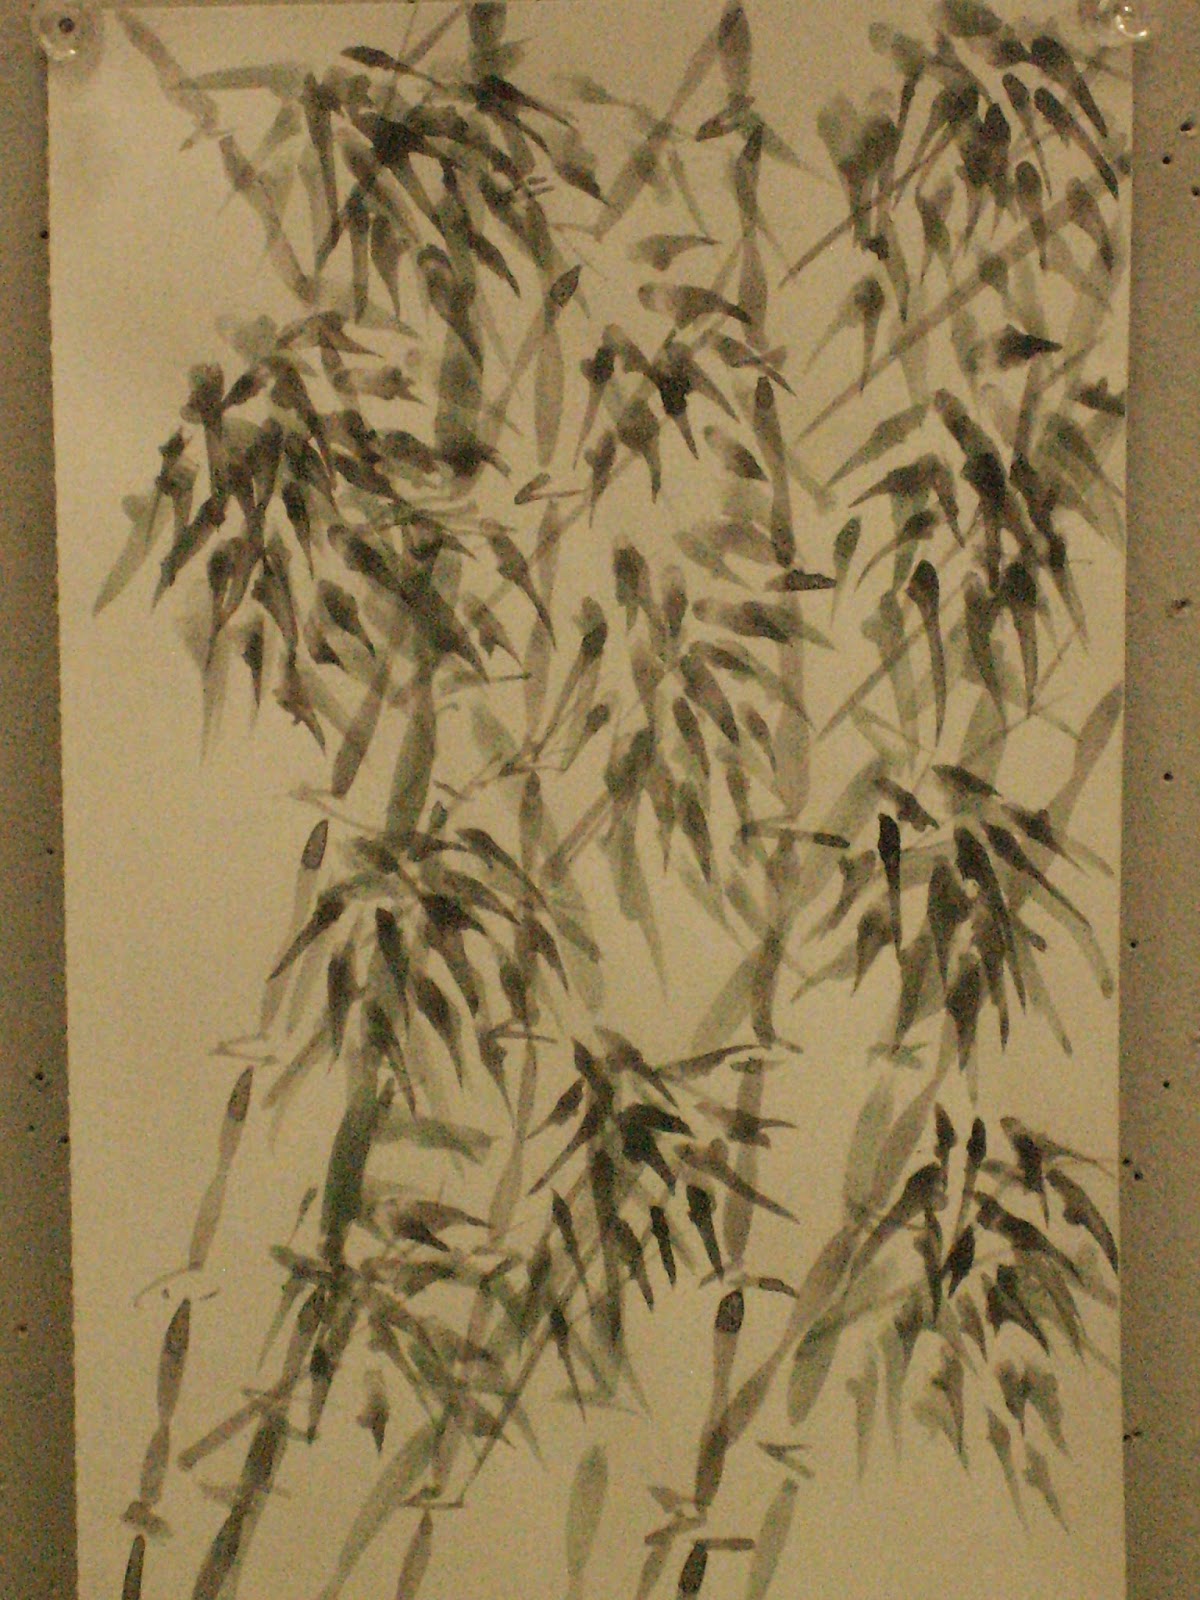
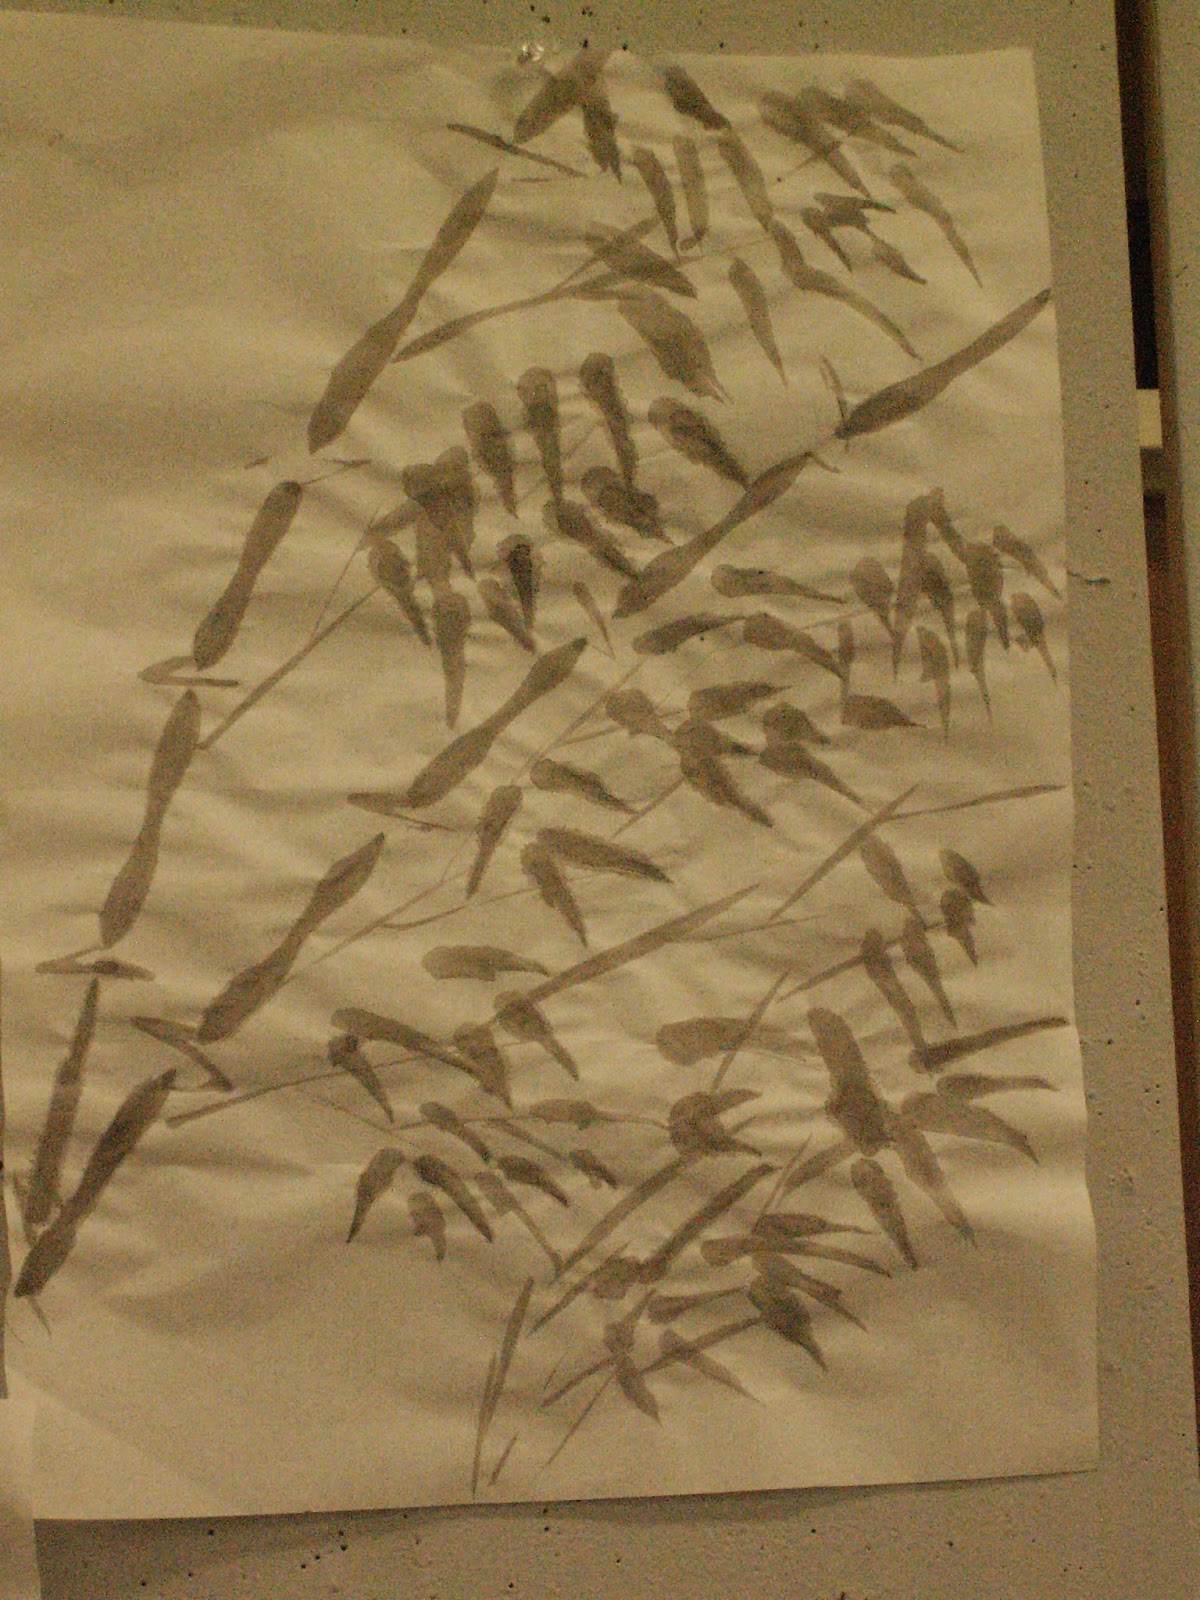
For the Chinese brush paintings, we tried out the Chinese brush painting kits and rice paper.  Each brush stroke is done in a specific way, and it took lots of practice to get it down.  It takes patience, but the end results are cool.  We used these to make paintings of bamboo, and I went home and tried to paint them with watercolor.  The watercolor was easier to work with, especially with a the watercolor brush that has the slanted tip.  The paintings in darker color are done with watercolor, and the two lighter ones at the bottom were done with the Chinese brush painting kits and rice paper.  


For the tutorial, click the link below.
http://saigemillsap.blogspot.com/p/chinese-brush-painting.html (Links to an external site.)


Wire Sculptures

Wire Sculptures

Circus themed wire sculptures, honestly one of my favorite projects of the semester.  This was fun, and different wire types will get different results.  Trying to make them kinetic, so that they move, was really hard.  Mine bounces, but that is about it.  After everyone had finished, we put them together to create a wire circus, which was funny seeing how everyone had gone with greatly different sizes.  Playing with the wire was surprisingly soothing in a weird way, and helped me relax even though I was working on homework.  Out of all of these projects on this blog, if you only pick one, I'd say this is a must.  

For the tutorial for this project, click below.